
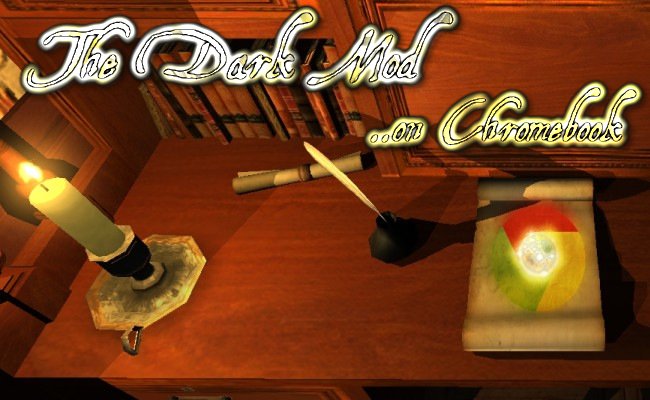
Play Thief-like game ‘The Dark Mod’ on a Chromebook
When the original Thief game appeared back in 1998, it first looked like just another RPG style game with some unusual twists.
However the ground-breaking stealth gameplay and production quality soon captured players into the rich atmosphere of the Thief world – soaring cathedrals, pagan creatures, underworld gangs, city guards, opulent manors and mystical sects.
The popularity of the original Thief game (also known as “Thief – The Dark Project”) spawned a number of sequels and a plethora of 3rd party missions. While the majority of these fan missions required one of the original Thief games to play, a project called “The Dark Mod” decided to recreate the Thief universe with an alternative, newer 3d engine, with improved gameplay, physics and lighting effects.
The Dark Mod became a standalone game in 2013, and includes Windows and Linux versions. There are approx. 100 missions available, all free to play.
Here we will show you how to install a working version of The Dark Mod on a Chromebook.
The process is a little more involved compared to a typical Windows or Mac desktop game install, however it’s not too difficult – we’ve done most of the heavy-lifting for you.
Although not absolutely necessary, it may be useful if you have some experience with basic Linux commands and concepts.
I don’t know this game, what’s it like?
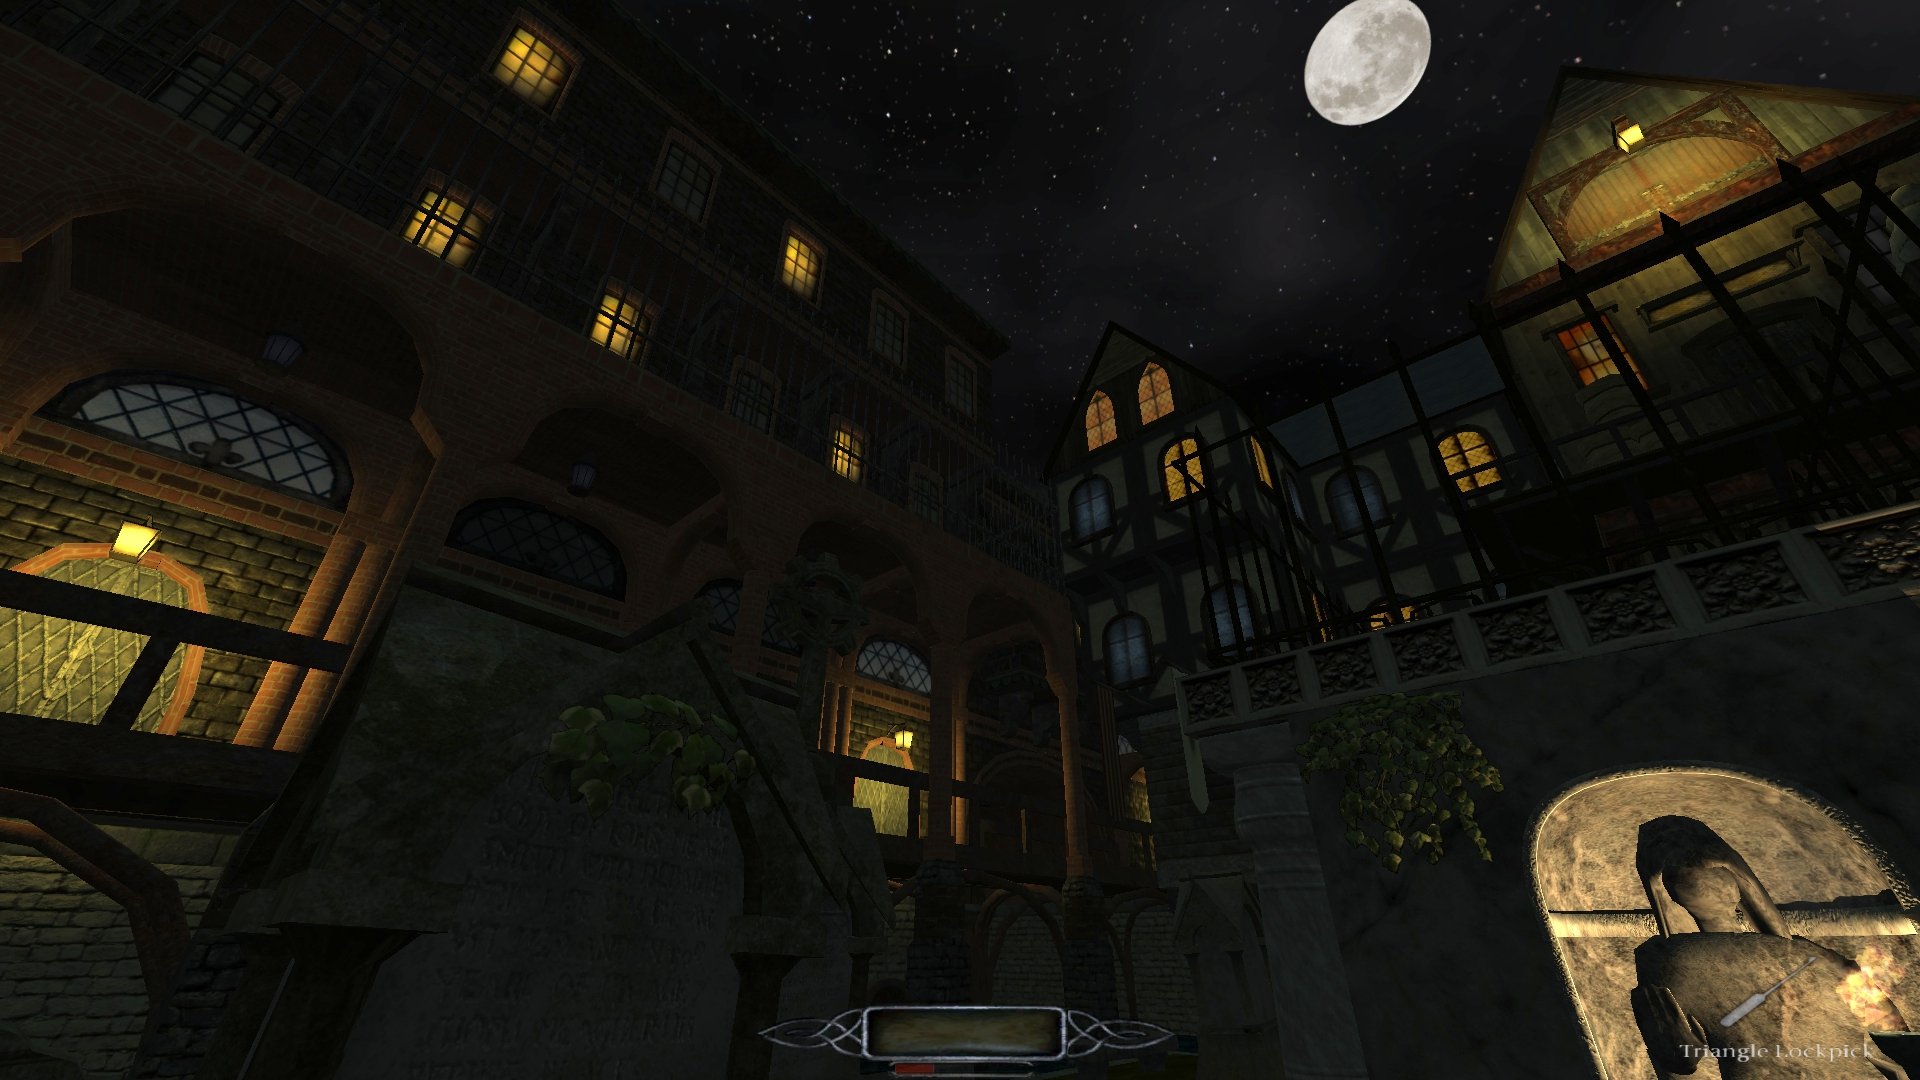
The Dark Mod is not so much a single game, but a wide variety of missions (some of them campaign style) that share a medieval/semi-industrial/magical setting.
Although some people might not like the fact that there isn’t an overall storyline between missions as in the original game, in reality this is hardly an issue; each mission has it’s own unique character, setting and gameplay style (Mansion break-ins, Bank heists, Rival gangs, Supernatural, Prison breaks, Exploration) but the overall world is surprisingly coherent.
Additionally, there are also a number of series following the adventures of a certain protagonist (Thomas Porter, William Steele ..) and some single maps in themselves can be very large (e.g. Requiem).
We suggest looking at the Dark Mod fan missions forum to get an idea of the type of missions available, there’s also a number of Let’s Play videos on YouTube, but naturally they contain more mission spoilers.
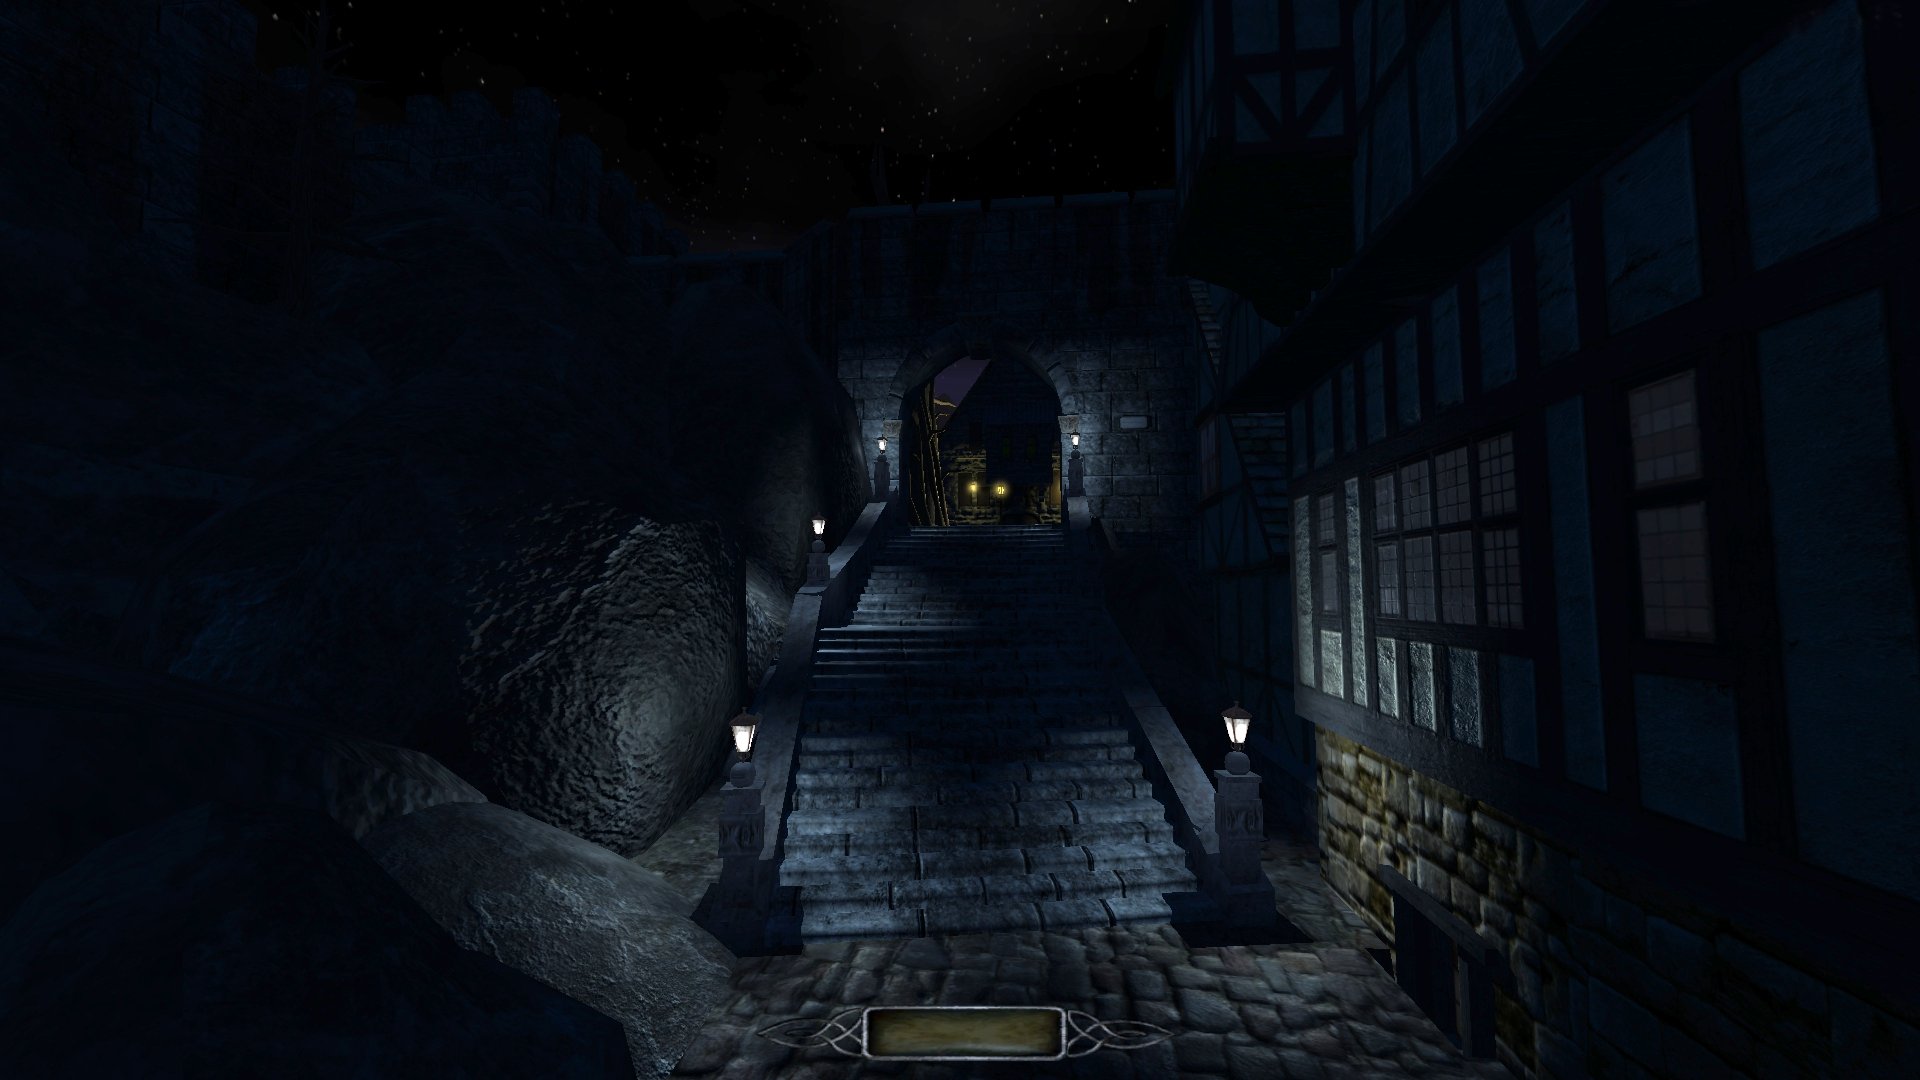
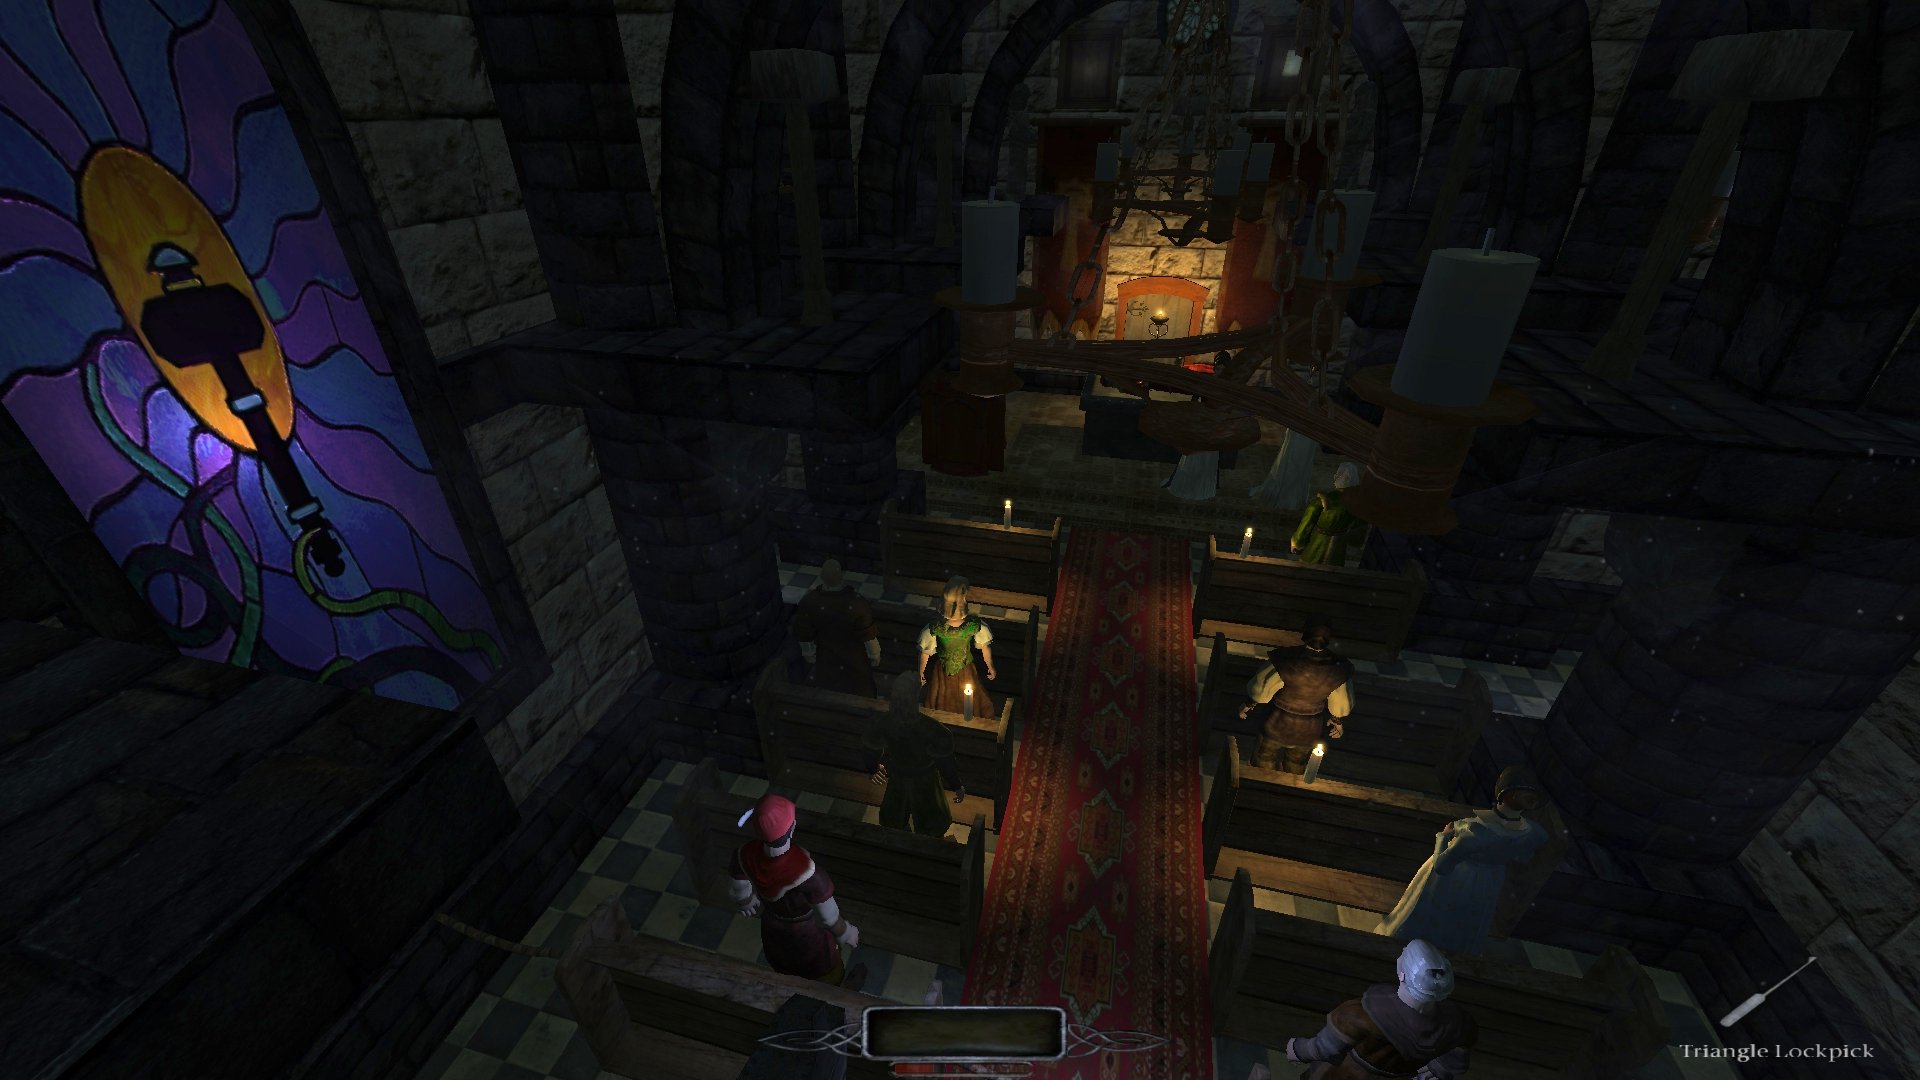
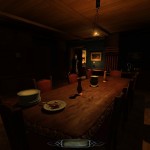
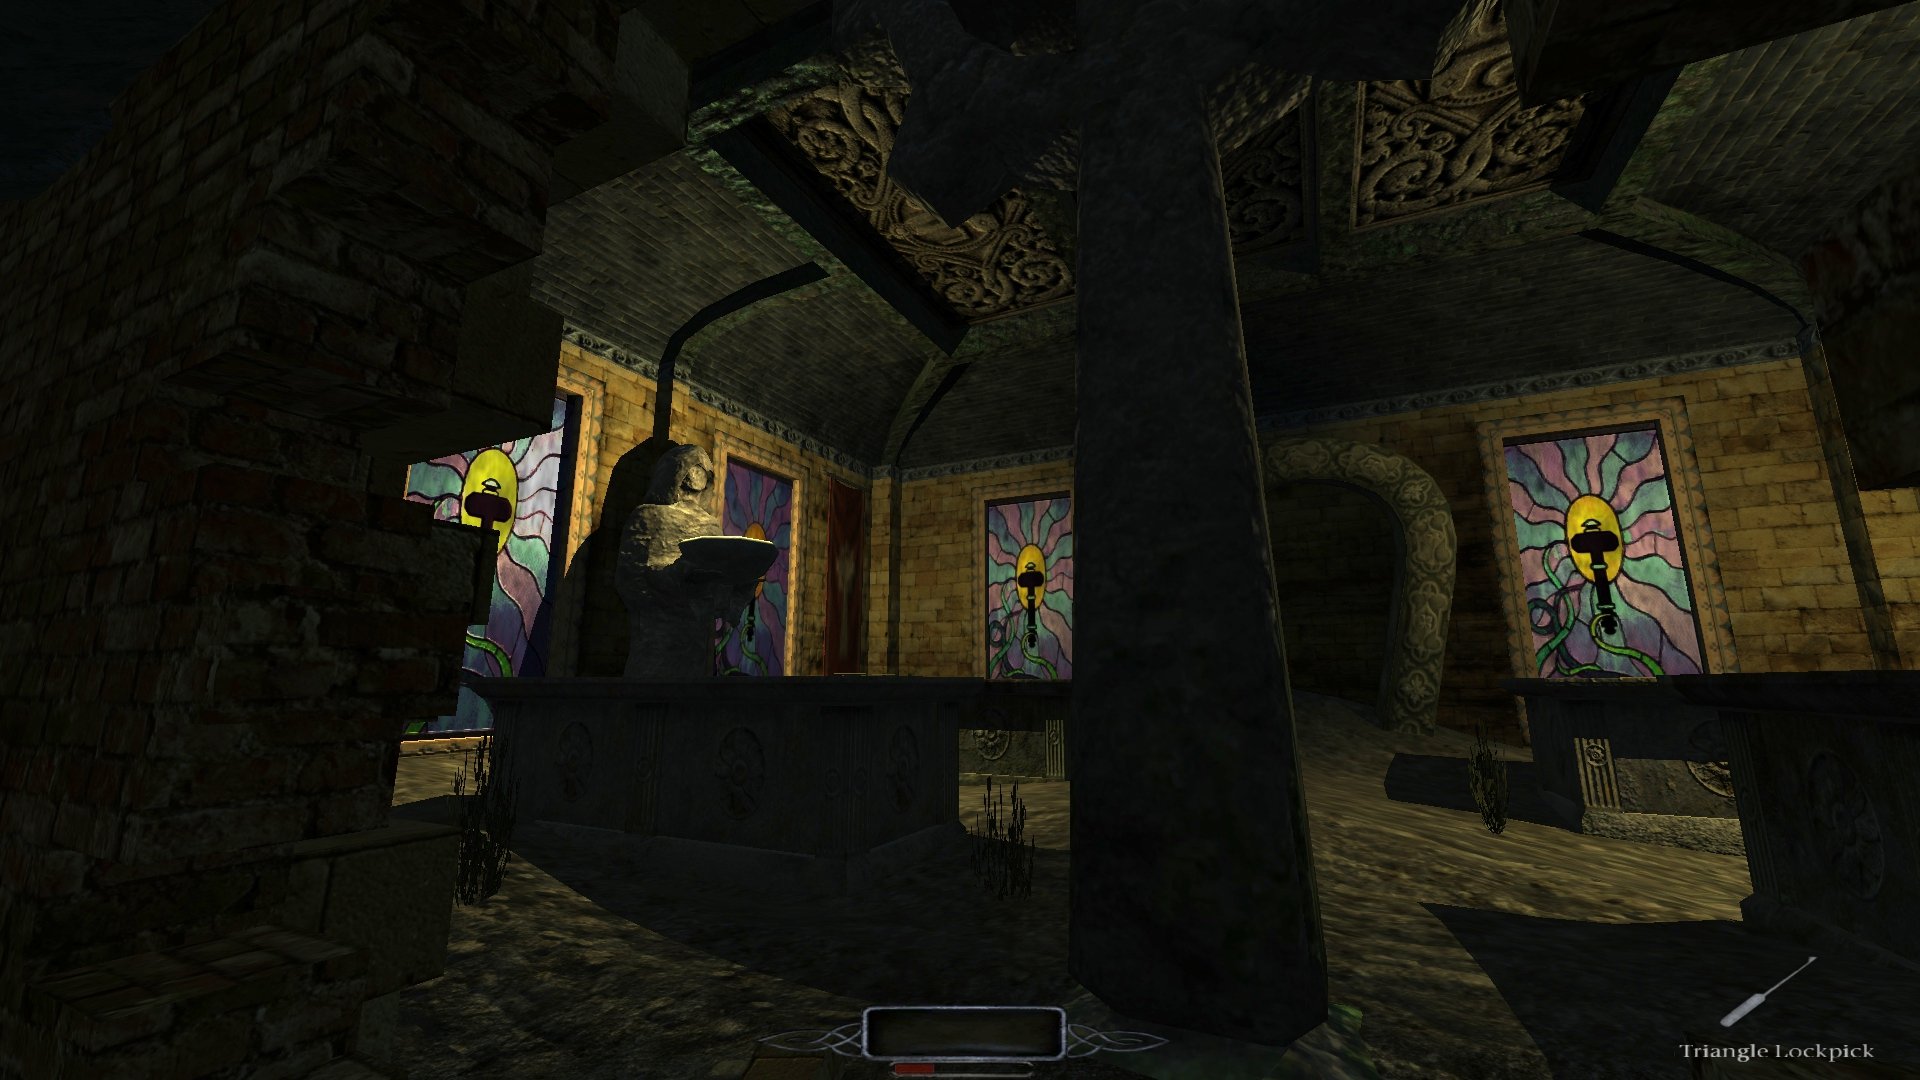
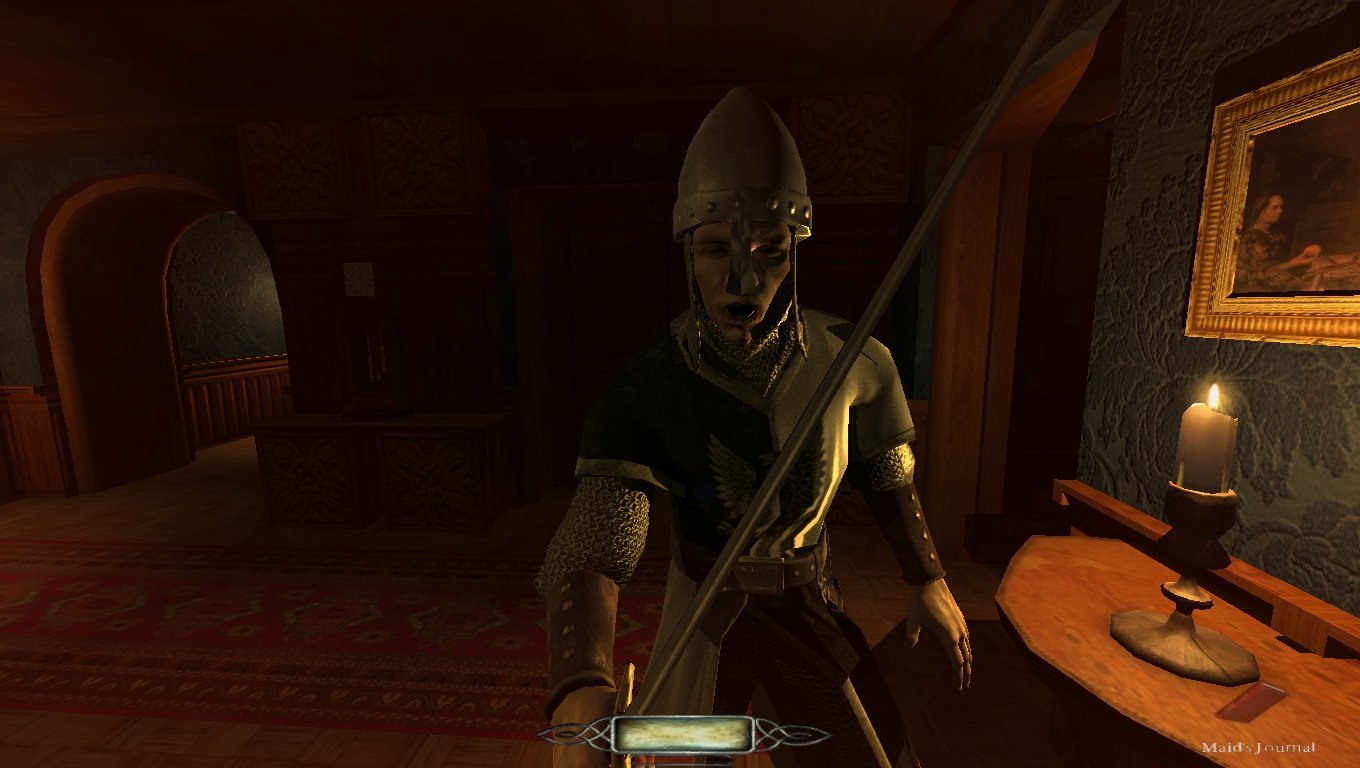
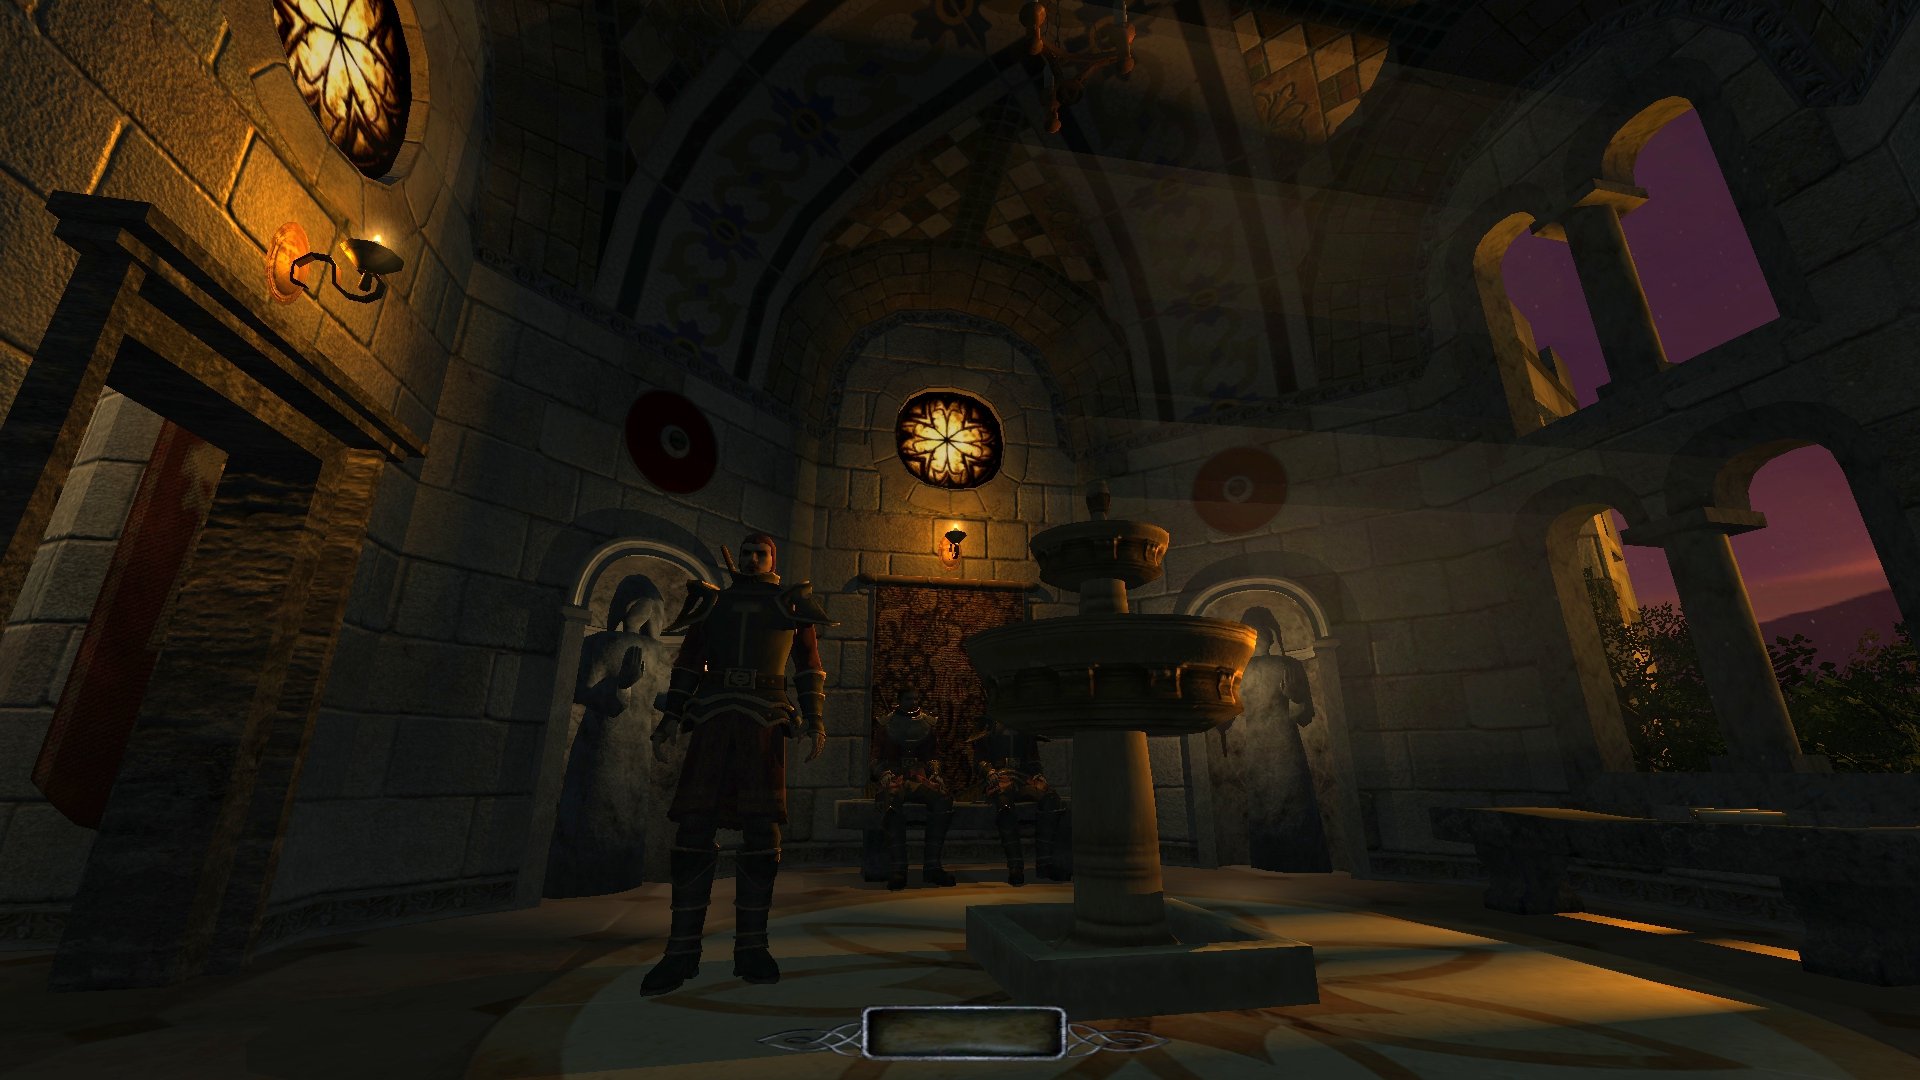
Click on the screenshots below for larger versions.

System Requirements
- You’ll need a fairly new or powerful Chromebook:
- Any Intel “Core” CPU models should work well, e.g. Core i3, Core i5
- Broadwell Celeron models, e.g. 3205U, 3215U can work reasonably OK
- Celeron “N” series CPUs, e.g. N2840 may not be playable unless at very low resolutions
- ARM based Chromebooks – extremely unlikely to work
See our Chromebook performance comparison for a detailed list of Chromebook CPU models
- The Dark Mod itself (with two initial missions) requires about 2.7GB of disk space.
- We’ll show you how to install Crouton in order to run Linux applications outside of ChromeOS.
This requires about 4-5GB of disk space. So in total, you’ll need at least 9GB of free space, which is just about feasible on a 16GB Chromebook SSD without much else saved on local storage. With a 32GB (or larger) SSD, it shouldn’t be a problem.
You can see how much free space you currently have by opening the Files app, clicking on “Downloads” and then selecting the top-right dropdown menu icon. - You’ll also need to put your Chromebook into Developer mode in order to install Crouton. This is straightforward on newer Chromebooks.
- An external mouse makes it much more enjoyable to play
Step 1 – Install Crouton on your Chromebook

Crouton is simply a script that allows you to run another Linux environment (in this case Ubuntu) side by side with your normal ChromeOS.
You’ll first need to put your Chromebook into “Developer mode”.
We recommend looking at the steps in the guide by Voltron00x here, however we’ve found that the newer “vivid” works mostly fine instead of the older “trusty”, and xfce instead of Unity appears to be an easier option, even if you have a Core version Chromebook.
The main steps are:
- First backup anything you need on your Chromebook local storage
- Enable developer mode, and reboot into ChromeOS
- Download Crouton – simply click on the link https://goo.gl/fd3zc
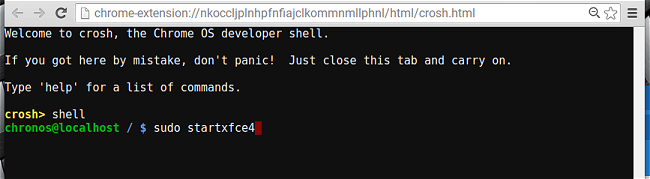
- Enter a shell on ChromeOS (press Ctrl-Alt-T, then type shell).
Ensure that the shell browser tab zoom is at 100%, otherwise you may not see text that scrolls off the bottom of the page during the install. - Start Crouton install with preferred options.
For this example, we’re using the command “sudo sh ~/Downloads/crouton -r vivid -t xfce”

- Note that the keyboard and/or trackpad may become unresponsive during the install.
You may need to attach an external USB keyboard and/or mouse in order to complete this part, which asks for a default username and password.
However, there is a way around this if you have a working mouse or trackpad but not a keyboard – Go to the ChromeOS settings panel in the bottom-right of the screen, click on “Settings” and then scroll down to “Show advanced settings”.
You can now click on the “Enable on-screen keyboard” box to give you a software keyboard instead, which can be used to complete the Crouton installation.
Once the Crouton install is finished, you can launch Ubuntu with the command “sudo startxfce4” within the ChromeOS shell prompt:
You can then switch back and forth between Ubuntu and Chromeos using Ctrl-Alt-Shift with the left and right arrow keys (the arrows at the top-left of the keyboard).
You’ll need to re-start Crouton using the command above any time you reboot your Chromebook.
Default keyboard layout
One of the first things you might need to do in a fresh Crouton install is to set the correct keyboard layout, if you’re using a non-US keyboard.
This will be apparent if you open a Terminal window and the pipe (|) or quote (“) characters come out wrong.
Within Crouton, you’ll need to go to Application->Settings->Keyboard->Layout and uncheck the “Use system defaults” box, and add the appropriate layout.
Mouse cursor glitches
You might notice some corruption of the mouse cursor graphic in the Ubuntu desktop.
This can be avoided by pressing the Esc button while still in ChromeOS (just before switching to Crouton each time).
Step 2 – Install required packages

You’ll most likely need to install some additional packages first for The Dark Mod to work.
These are mostly related to 32-bit compatibility, sound and graphics.
You’ll need to open a terminal window in Crouton to enter any commands listed below – click on Applications and then Terminal Emulator.
Update Crouton display drivers
First of all, if you’re using Crouton you should update the graphics drivers as detailed in the “Step 6: Update your Intel drivers” section of the Voltron00x Crouton install guide (users of GalliumOS or other Linux installs should skip this part) – however – Since we’re using vivid (15.04) instead of trusty (14.04), the commands should be as follows:
sudo apt-get install software-properties-common python-software-properties
sudo add-apt-repository https://download.01.org/gfx/ubuntu/15.04/main
wget https://download.01.org/gfx/RPM-GPG-KEY-ilg -O - | sudo apt-key add -
wget https://download.01.org/gfx/RPM-GPG-KEY-ilg-2 -O - | sudo apt-key add -
sudo apt-get update
sudo apt-get upgrade
This is suggested to fix some graphical glitches and also give you slightly newer 3d drivers, although we found that the graphical corruption of the mouse cursor tended to persist, unless avoided by using the Esc key method.
At this stage, you may want to install a better web browser in Crouton in order to copy and paste instructions, since the default “Netsurf” package is not ideal at displaying some website text.
You can install Firefox for example, using the following terminal command:
sudo apt-get install firefox
Now you can check the existing version of your OpenGL graphics drivers by installing the mesa-utils package. Install using:
sudo apt-get install mesa-utils
You can then see the version by typing:
glxinfo|grep "OpenGL version"
On a new install of Ubuntu Vivid, we got the result “3.0 Mesa 10.5.9”.
After following the steps to update the drivers, this went to “3.0 Mesa 10.6.0” (With Trusty, you may be stuck at an older 10.3.0 version after updating).
You will possibly need to shutdown Ubuntu at this stage and start it up again in ChromeOS in order to see the changes (shutting down Ubuntu brings you back to the ChromeOS desktop and ends the Crouton script).
Install packages
We’re going to list the packages you need to install to get The Dark Mod working when using the Ubuntu Vivid installation described above.
If you have a different Linux distro or Crouton installation, or have installed something like Steam, you may already have some of these libraries. In that case, it won’t cause any harm using the commands below, it will simply tell you that they have already been installed.
In a terminal window, install the following packages:
sudo apt-get install libpng12-0:i386
sudo apt-get install libx11-6:i386
sudo apt-get install libxext6:i386
sudo apt-get install libxxf86vm1:i386
sudo apt-get install libgl1-mesa-glx:i386
sudo apt-get install libasound2-plugins:i386
Step 3 – Download and install the game

Now we can install the game itself. Open a terminal window in Crouton and use the following commands to create a directory, download and run the Dark Mod updater:
mkdir darkmod
cd darkmod
wget "http://www.fidcal.com/darkuser/tdm_update_linux.zip"
unzip tdm_update_linux.zip
chmod +x tdm_update.linux
./tdm_update.linux
The updater will now take some time as it downloads the game binaries, model/texture/sound packages, the Training mission and a starter mission “Saint Lucia”.
If the downloads stall (e.g. due to a break in WiFi connection), you can press Ctrl-C, then close the terminal window (if necessary) and try running it again. It should pick up where it left off with the downloading.
After it’s complete, you can create a small script to run the game and avoid display resolution issues when returning to the desktop:
echo "./thedarkmod.x86; xrandr -s 0" > tdm.sh
chmod +x tdm.sh
Now you can start the game itself:
./tdm.sh
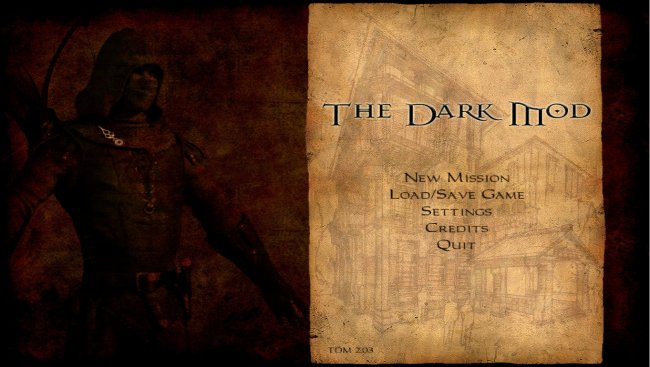
The game should start and bring you to the main title screen.
If you can’t start the game at all, your setup may be missing the 32-bit compatibility libraries.
For example, on GalliumOS (and other Ubuntu variants), you can add these as follows:
sudo dpkg --add-architecture i386
sudo apt-get update
sudo apt-get dist-upgrade
sudo apt-get install libc6:i386 libncurses5:i386 libstdc++6:i386
Display resolution changing after exiting the game
When you quit the game, if haven’t started it using the “xrandr -s 0” script above, you may notice that your desktop is kept at the game resolution.
This can be a problem if it’s set to a low or strange resolution. In this case you can either issue the “xrand -s 0” command by itself to return to the default resolution, or change it using the menu at the top, under Applications->Settings->Display.
Failure to automatically restart
Sometimes, the game may tell you it’s restarting (e.g. after installing a new mission), but it doesn’t actually do this after exiting back to the desktop. You can simply start it again using ./tdm.sh in this case and most of the time it should work fine.
Framerate and in-game resolution
One of the first things you might want to do after installing is change the game resolution (the default is 640×480).
However this can be problematic when using the in-game settings, since some resolutions, especially widescreen ones, produce black borders, or may be offset badly from the center.
Some resolutions that we have found work without major issues on a 1920×1080 16:9 display size Chromebook are:
- 640×480
- 800×600
- 1024×768
- 1152×864
- 1280×1024
- 1360×768 *
- 1920×1080
For the resolution marked with a *, we recommend setting this manually in the configuration file Darkmod.cfg.
You can edit this using a command line editor such as nano – install it with “sudo apt-get install nano”.
Now launch nano to edit the file: “nano Darkmod.cfg” ..and use Ctrl-W to find the lines r_customWidth or r_customHeight.
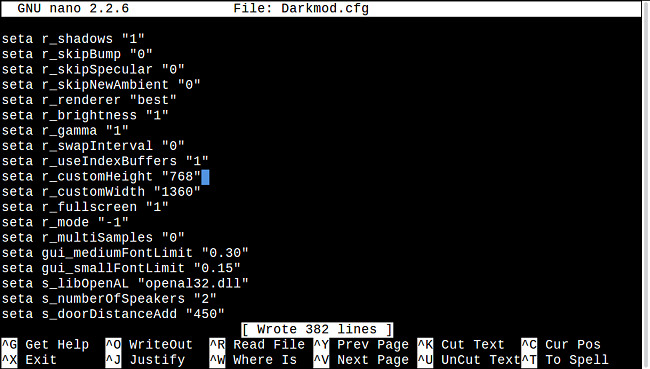
You can now edit the resolution values here. Also, check that the “r_mode” value is set to -1.
Now press Ctrl-O to save the file, then Ctrl-X to exit back to the terminal.
Framerate
You can display the FPS in the game by first opening the game console (press the ` key, on the top-left of the keyboard below Esc, or Ctrl-`).
Switch the FPS counter on and off using the command com_showfps 1 or com_showfps 0

If you have a 1080p Celeron Chromebook with a 3205U or 3215U CPU (some models of the Dell Chromebook 13 and Toshiba Chromebook 2), we recommend setting the resolution to 1360×768 in the configuration file (not 1366×768).
This will give you a reasonable widescreen resolution and playable framerate for most missions – averaging between 20-30 for the outdoor parts of the St.Lucia mission, and anywhere from 20-50 for indoor parts.
If you have a Core i3 or i5 Chromebook, you can try the full 1920×1080 if your display supports it.
Of course, some missions are a little heavier on graphics processing than others (e.g. Lords and Legacy, Glenham Tower), so it’s worth bearing in mind if you try a mission and find it very slow.
According to Dark Mod forum posters, generally if the St.Lucia mission works ok, then you should be able to play most missions without a problem.
![]()
Bikerdude, one of the developers and mission creators, suggests that looking down the archery range in the Training mission may be a useful way of measuring fps across different systems.
At this location, we got about 15 fps @ 1360×768 fullscreen on a Celeron 3205U processor using GalliumOS, and 11fps @ 1920×1080. On Core i3/i5 systems, you might get something like a 50% increase on these framerates – let us know your results in the comments below!
Although this seems low, it’s one of the more graphically complex scenes, and occasional framerate dips to 15 fps are just about at the level of playability, considering the game style (most areas of the Training mission level average 20-40 fps).
When playing under Crouton, we did notice a few fps drop at this location compared to GalliumOS, even with similar graphics driver versions. We’re not entirely sure if this is simply due to the overhead of ChromeOS within Crouton, or if there are some other factors involved.
We suggest turning off the FPS counter when playing a mission, since it can become distracting.
Get back to the desktop while playing
You can get back to your desktop environment while playing, but it only seems to work in windowed mode (when “r_fullscreen” is set to 0 in Darkmod.cfg).
Simply bring up the game console using ` or Ctrl+` – this will then free up the mouse cursor to move over the desktop, or you can use alt-tab to switch between applications.
This can be useful for leaving a number of mission downloads working in the background when using slower Internet connections.
Download more missions!

Now that you’ve tried some of the pre-installed missions, the fun part is choosing more missions to download and play.
These range from small to very large missions, some are part of a series or campaign, some are classical stealth missions while others may be more focused on exploration or fighting.
We suggest browsing through the Dark Mod fan missions forum, or just pick a few from the in-game downloader at random.
A full mission list is available here, and also on the wiki page.
Using Crouton vs a dual-boot Linux install
If you’ve researched using Linux on Chromebooks a little, you may have noticed that Crouton is an easy way to get a Linux desktop on your Chromebook, but that it comes with some restrictions.
Free memory
One of the main issues for gaming within Crouton seems to be the amount of available memory. This is especially relevant if you have a 2GB RAM Chromebook.
What happens when Crouton is running, is that ChromeOS also continues to run in the background.
The easiest way to see this is to open a terminal shell in Crouton, and use the “top” command to see what processes are using CPU and memory.
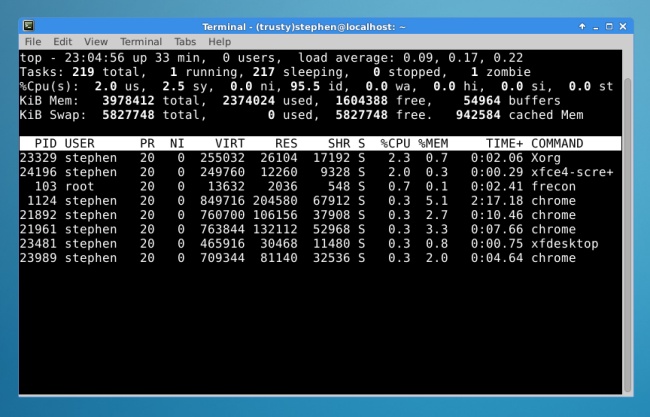
You’ll notice that the “Chrome” process is present, even though you might not be using the Chrome browser in Crouton.
This is simply Chrome from ChromeOS running in the background, and if you have a lot of tabs open etc., it may be using a lot of memory.
So if you are playing games within Crouton, you may need to make sure that you don’t have too many additional applications open, since you’re already running on reduced memory from the ChromeOS overhead (the reverse is also true – lots of activity in the background in Crouton may affect ChromeOS performance).
Older software versions
Another issue with a Crouton setup instead of a dedicated Linux install (such as GalliumOS), is that you’re largely stuck with the releases that Crouton supports, which for Ubuntu is only officially 14.04 (Trusty).
Having said that, we’ve been using 15.04 (Vivid) without significant problems (although see “Installing more games” below for an issue regarding the Ubuntu software enter), and there are some reports of people successfully installing 15.10 (Wily).
The older distributions come with more dated graphics drivers, although it probably won’t make a huge difference to in-game framerates (perhaps a few fps difference).
Developer screen at bootup
It’s not a huge problem, however when you have your Chromebook in Developer mode, you will get a warning screen every time you bootup, and if you (or someone using your Chromebook) presses Space here instead of Ctrl-D, it can wipe your entire Crouton install.
If you decide to go dual-boot with ChromeOS and another Linux distro, this Space bar problem will only affect your ChromeOS part, so anything installed on your other Linux boot environment is safe.
![]()
Alternatively, the boot screen can be skipped if you’ve disabled the hardware write-protect switch on your Chromebook.
You can then change the “boot flags” which control the developer screen behaviour.
On a Chromebook with just ChromeOS installed, you can enable developer mode with a short boot screen delay with the following:
sudo /usr/share/vboot/bin/set_gbb_flags.sh 0x9
If you’re dual-booting, you can do the same but with a default boot into your “Legacy” (other OS) boot with the following:
sudo /usr/share/vboot/bin/set_gbb_flags.sh 0x489
More details are available here.
Using WINE to play the Windows version
In terms of performance, the WINE Windows compatibility package works well with the Dark Mod Windows version and it appears to be perfectly playable. This might be an option if you’re having a lot of difficulty with the Linux version.
You’ll need to first install WINE, and then download and run the Dark Mod Windows installer. Note that saved game files between the Windows and Linux versions are apparently not compatible.
Installing more games
Once you have successfully set up either Crouton or a standard Linux distribution on your Chromebook, there are hundreds of other games available.
Apart from Chrome web store games, you can also try the GOG Linux games or Featured Linux Games on Steam.
To being with, on a fresh Crouton install, you can add the Ubuntu Software Center package in order to more easily add games and other applications:
sudo apt-get install software-center
You may get an “Authentication error” message when trying to install packages if you start Ubuntu Software Center from the drop-down menu.
Instead, open a terminal window and use “gksudo software-center” to start it. You can then install packages as normal.
If you’re looking for Minecraft, you can install it from their download page here (you may need to also install OpenJDK from the Software Center or Synaptic package manager).
Additionally there are a wide variety of older Windows titles that can be played using WINE.
Design your own missions
Fancy a spot of stealthy level design? DarkRadiant is the Dark Mod’s level editor, and it works on Linux too.
Troubleshooting
- I messed up installing packages in Crouton, help! – Don’t worry about not getting the Crouton install right the first time. As long as you don’t have anything in it that you especially want to keep, you can simply delete the install and start again.
To do this, go into the Ctrl-Alt-T “chronos@localhost” shell in ChromeOS, and use the command “sudo delete-chroot vivid” (assuming you followed the instructions above and installed Crouton with the ‘Vivid’ version of Ubuntu).
You can now re-install Crouton with your preferred command line options. - I already have a “trusty” Crouton installed, I tried to install “vivid” but it goes back to the old one – You can start your vivid install from ChromeOS shell by using “sudo startxfce4 -n vivid”.
- I’m using GalliumOS or another Linux distro and I’m getting choppy or popping sound in the game – You can try changing the sound driver line in Darkmod.cfg “seta s_driver” from “best” to “oss”. You may need to install a package such as osspd-pulseaudio.
Also check that the seta s_dsp “/dev/dsp” config line reflects your setup – you may need to change it to /dev/dsp1 for example. - My external/USB mouse isn’t working – Try plugging it out, and re-plugging it in while in Crouton, instead of ChromeOS.
Anyway to have these missions or the game install to a USB or external drive connected? I am dualbooting and the game worked but I have no free space left.
Installed on GalliumOS Acer Chromebook 15 CB5-571-C4
I haven’t tried it, but it should be possible. I think simply moving the entire game directory (“darkmod” in this example) to the external drive should work.
This should also move the missions since they’re under the fms sub-directory in the game folder.
You can use “df” in the command shell to find out where the external drive is mounted, and then just do something like,
mv darkmod “/media/username/Samsung USB/”
(adjust as necessary as per df report, this is for a Samsung external USB stick, or alternatively just use the File Manager)
Thanks for the quick reply. VERY new to linux, like 4 hrs new….so this guide was very helpful and easy to follow.
Only took me 2 hours to figure out why I couldn’t copy it to the SDcard!
(apparently root didn’t like me, so I took its SD toy away!)
Testing now, it loads up. Yay. Will let you know what the FPS is like etc once I hook a mouse up to play. thanks for this guide. (And I have loved EVERY thief game, played them all, many times over!)
Awesome! 🙂 If you do try a mission and it’s too slow, it’s worth trying a few more since there can be a considerable difference in fps. Having said that, I think after a while the fps gets a bit distracting so I just have it switched off mostly.
One other thing, sometimes I find that the external drives are not always mounted for whatever reason when using the command shell. In this case you can open up File Manager and click on the external drive icon there, and it will try to mount it (I’m not sure if this is fixed in the newer version of GalliumOS or if it’s something to do with power saving).
As you suggest, no ARM support. Cacks at the additional repository step. I am only running Ubuntu 12.04 (tried changing the repository version as well). Oh well.
(ASUS C100 Flip)
Of course there is no offical Wine port to ARM either – not that I’d expect it to run on this machine. 😉
Hmm that’s a shame… some of those ARM chips have decent GPU performance, would have been interesting to see. I would imagine it’s an incredible headache to even try sorting out all the dependencies though. The Dark Mod is great though for something that’s playable on newer Intel integrated graphics devices.
Very impressive guide fella, always nice to see the mod running on other platforms!
“Bikerdude, one of the developers and mission creators, suggests that looking down the archery range in the Training mission may be a useful way of measuring fps across different systems”
As you just walk through the door, look to your left towards the tower. That’s most GPU intensive spot and good indicator performance wise of a given system.
Cheers, good to know that!